
Cartaro Quickstart
Cartaro is a geo-enabled Content Management System (CMS) to manage and publish geospatial and non-geospatial content.
This Quickstart will guide you through the following tasks:
- Create a new geospatial content type
- Configure Cartaro to display the new content type
- Add new geospatial content
All tasks will be performed using the example of a touristic web portal with the goal to map lakes.
Contents
Starting Cartaro
- Start the OSGeoLive DVD
- Choose to start Cartaro
- The Cartaro web page http://localhost/cartaro will automatically open
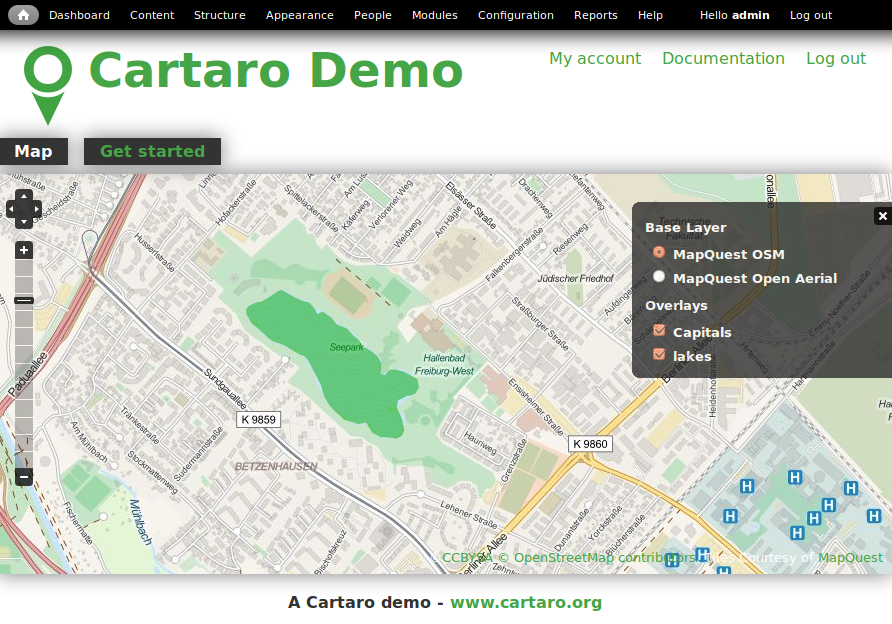
Front Page
When the Cartaro page is opened, you will see the screen below. The front page contains a global map with capital cities as an example.
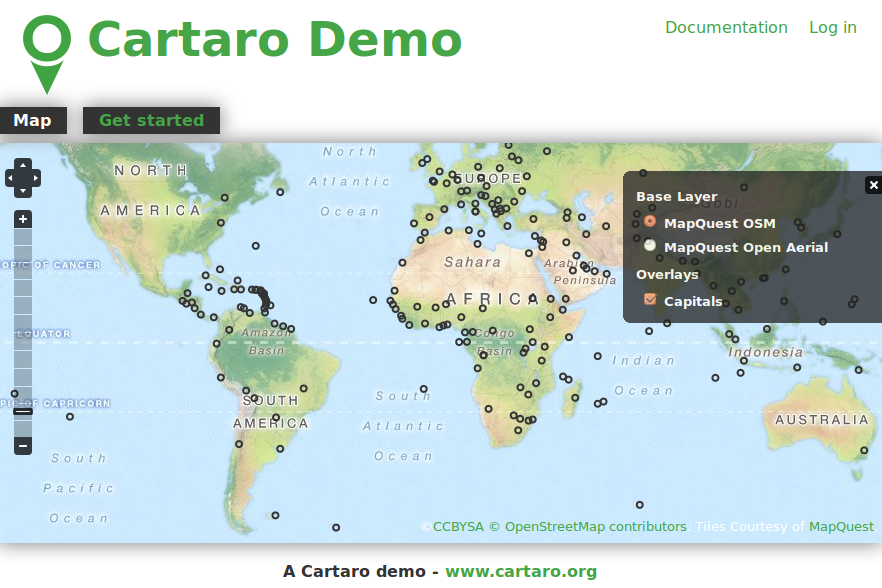
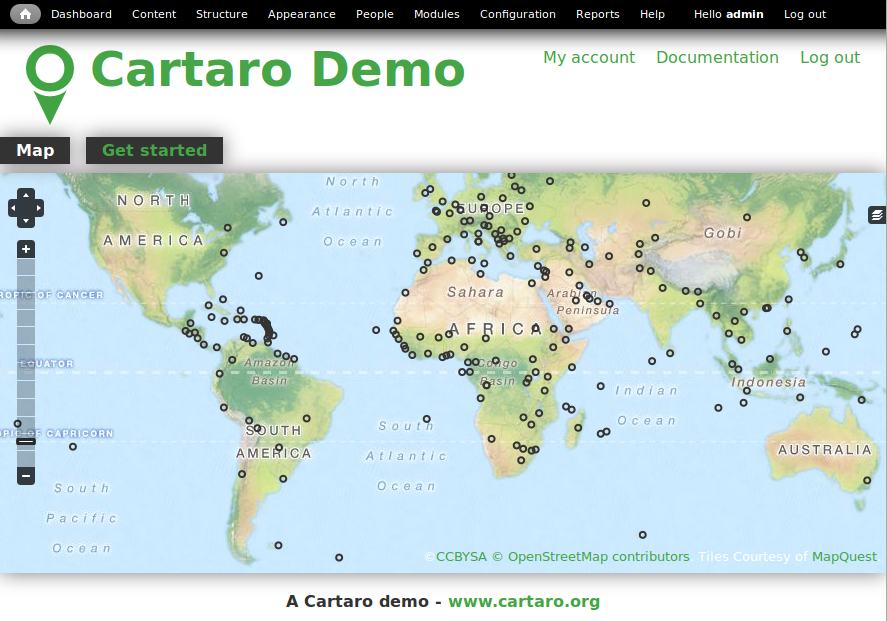
- Please Log in on the upper right corner to access the administrative interface with admin as username and geoserver as password. You will now see the administration menu bar on top.
Tip
You can return to the front page anytime by click on the home icon in the upper left corner.
Creating a new Content type
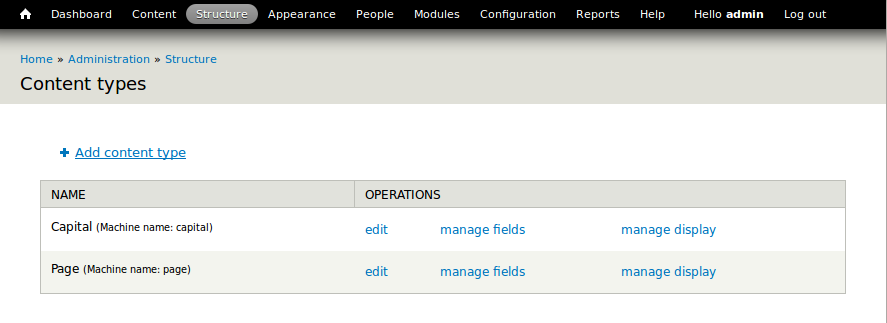
Content types and fields define the structure of a specific content (e.g. the content type Capital contains the fields “name” and “location” to generate content elements for the respective capitals displayed on the map). To create a new content type, follow the steps below.
- Choose on the menu bar and click on Add content type
- Type a name for the new content type and describe it if you want.
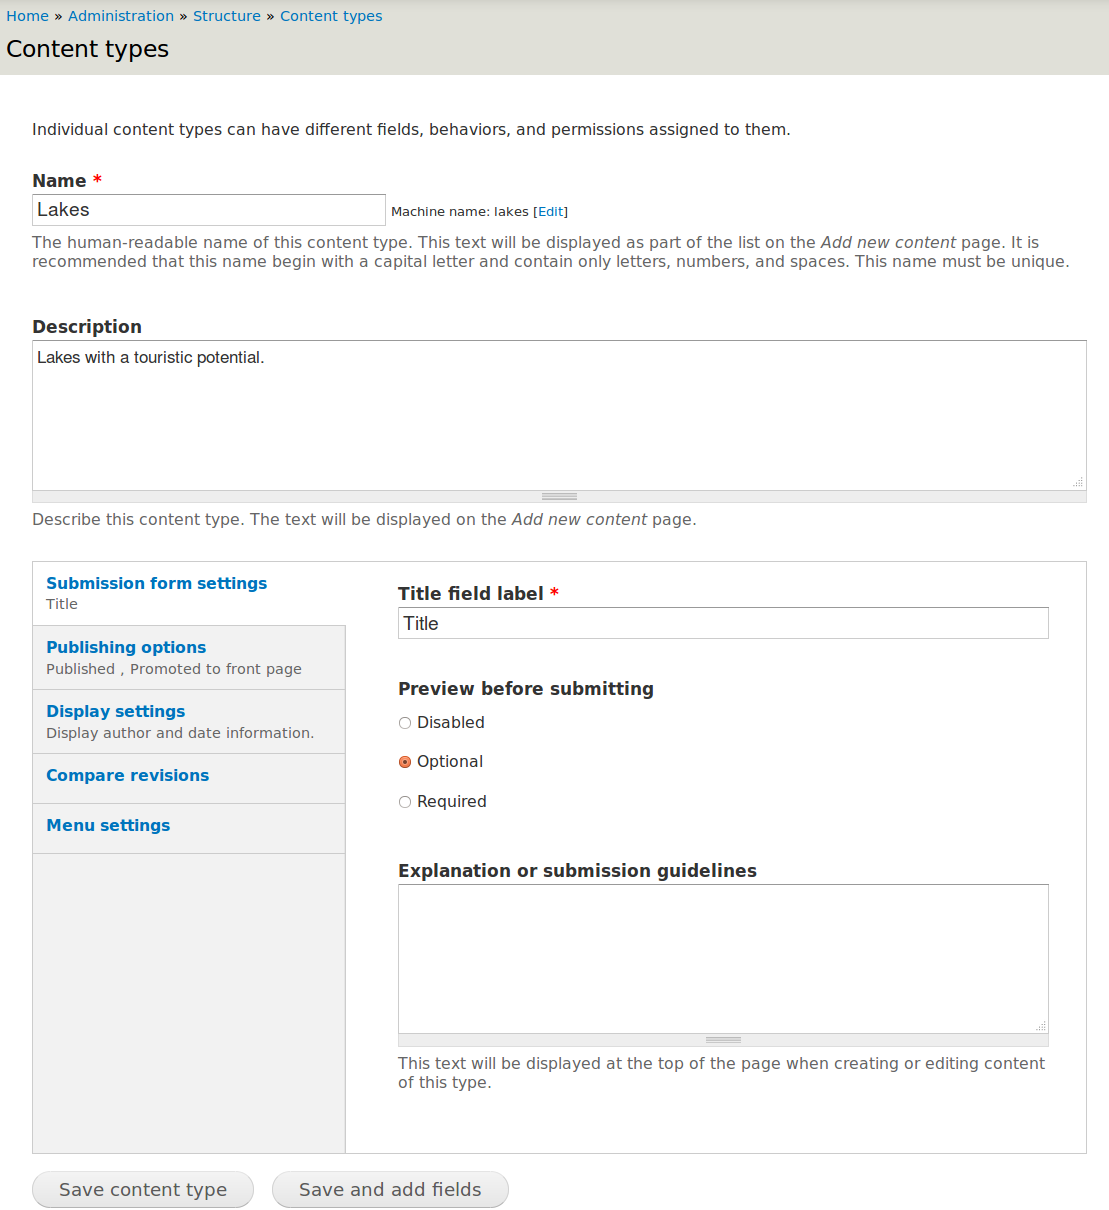
- Finish by click on Save and add fields
- Add a new field for your content type by entering a descriptive name. We want to create a geospatial field with the name Geometry. Select Geospatial data as field type and OpenLayers Map as widget.
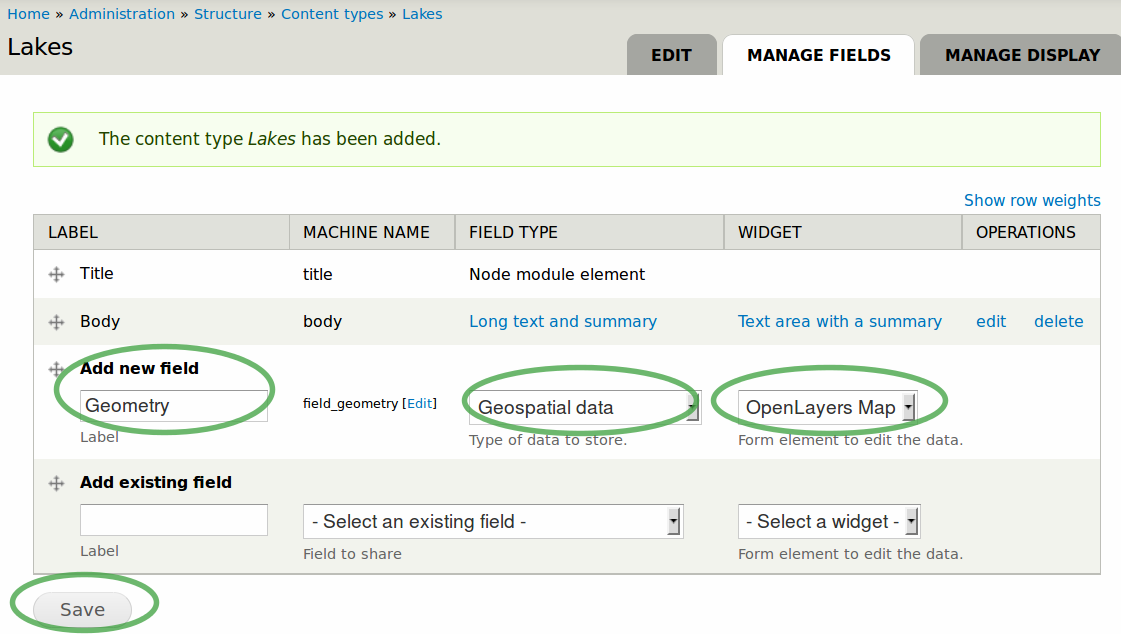
- Finish by click on Save
- Choose your field settings in the new window: Select the geometry type that describes the kind of geospatial information you want to store. Choose Polygon to follow our example.
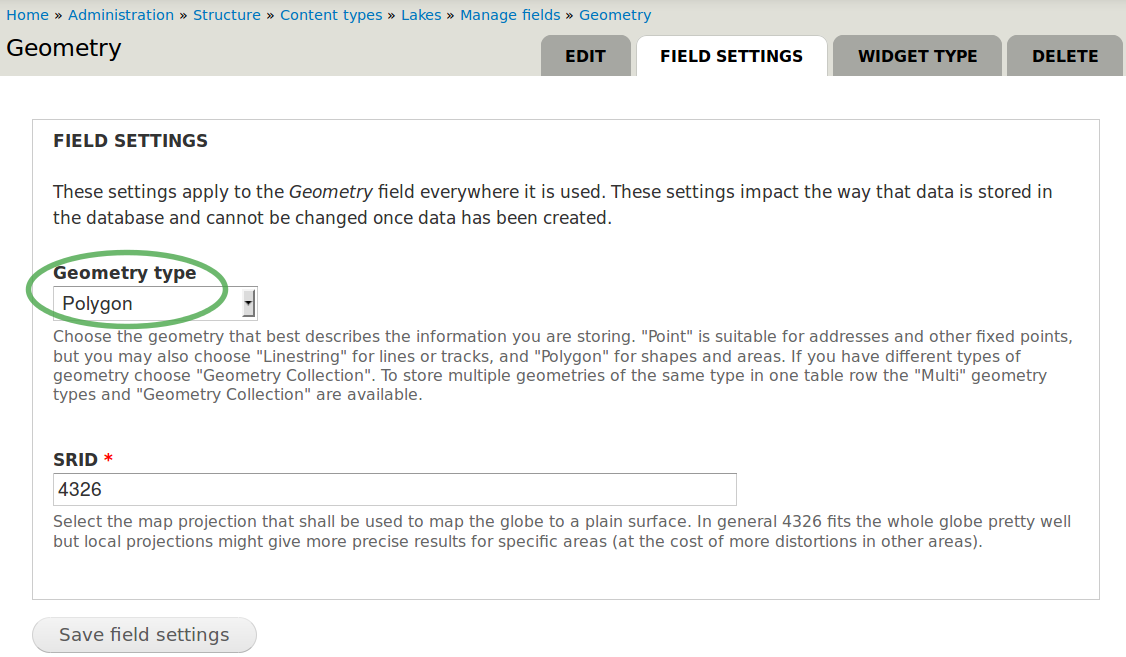
Tip
Read the text below the Geometry type drop-down box to find the geometry type that fits your needs.
- Finish by click on Save field settings

- Press Save settings to finish the field creation
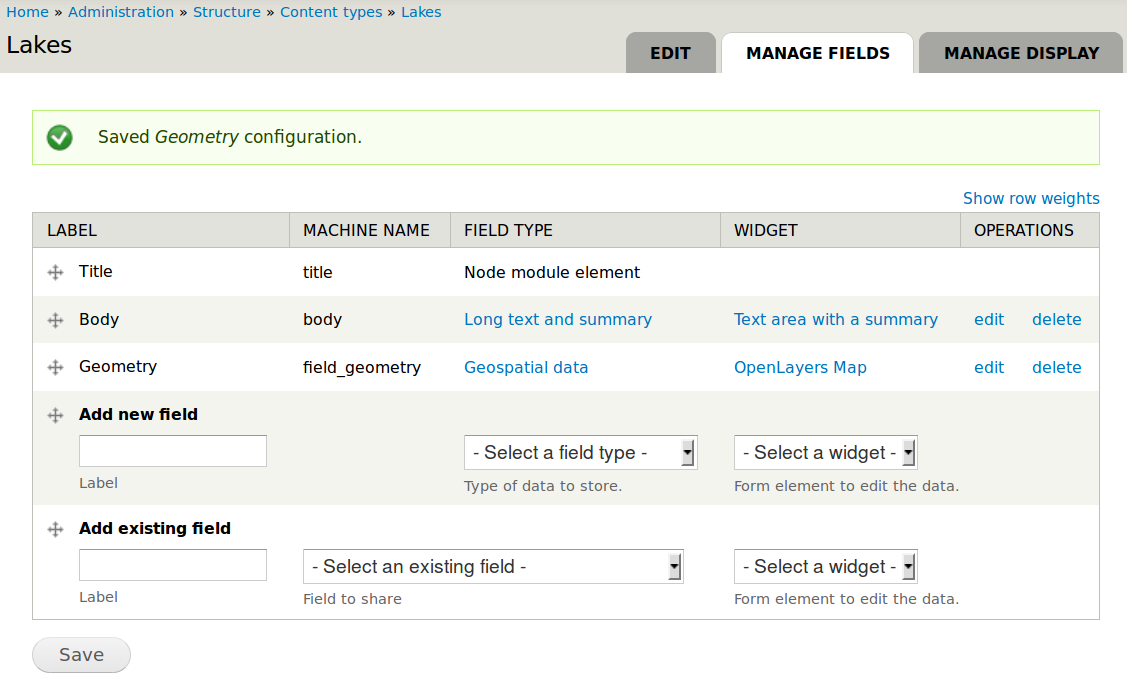
- Under the tab Manage fields you could create further non-geospatial fields. We don’t need to create a new one for our example.
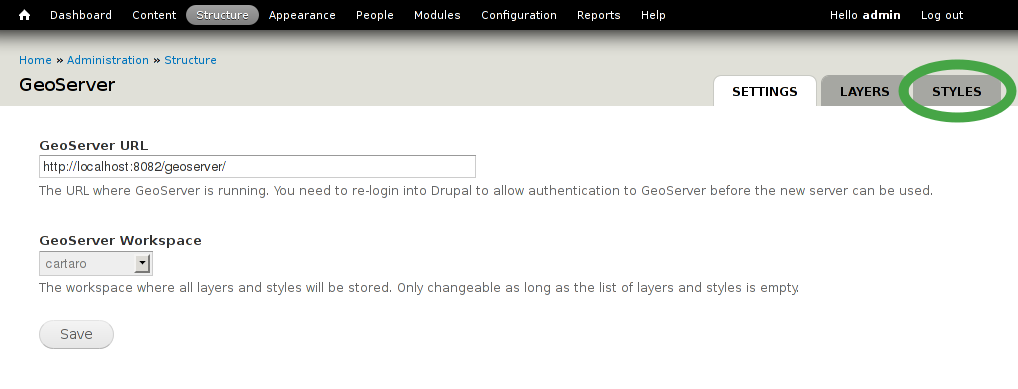
Configuring GeoServer
GeoServer is used to provide layers via Web Feature Service (WFS) and Web Map Service (WMS) with the geospatial field from your newly created content type.
- Choose from the menu bar to visit the GeoServer configuration page
Creating a new layer in GeoServer
- Use GeoServer layers to publish your geospatial data.
- Choose from the menu bar to visit the GeoServer configuration page again
- Select and click Add to add a new layer
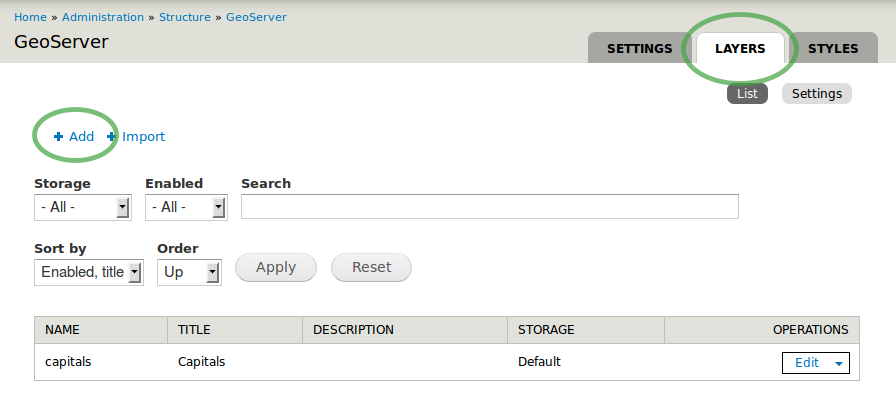
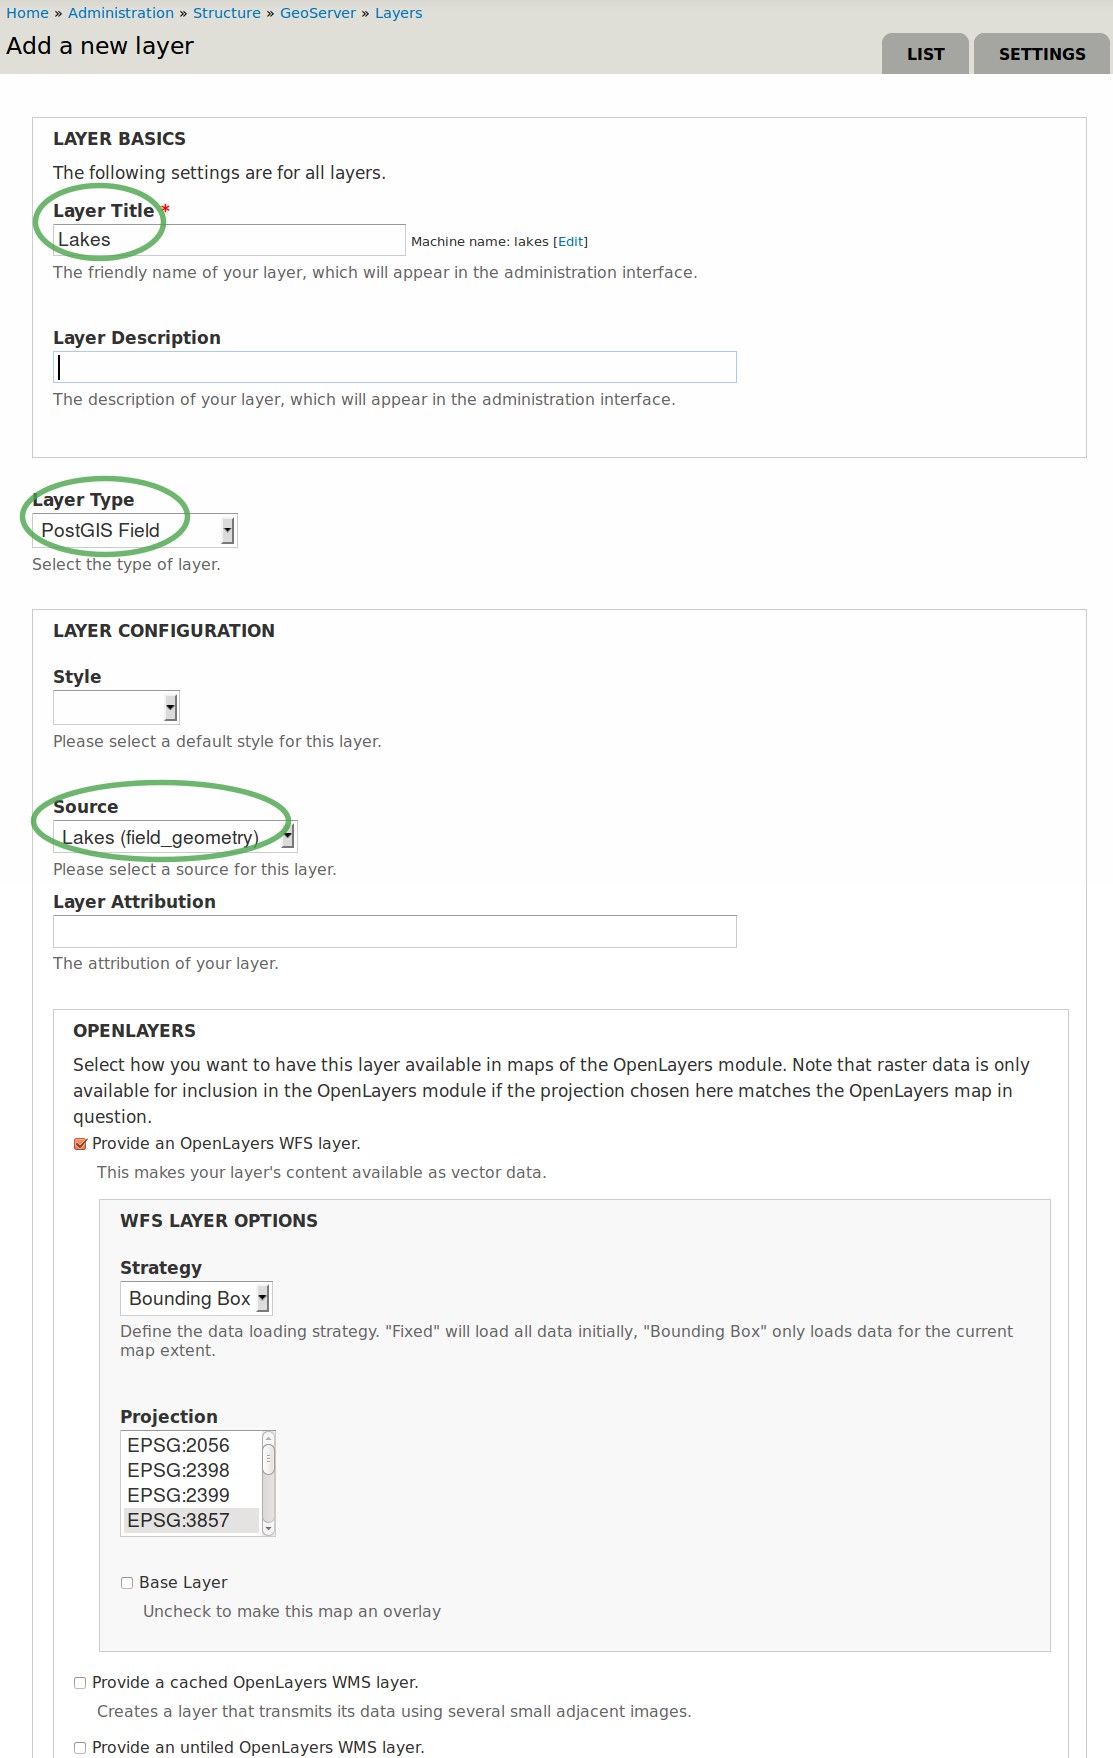
- Type a suitable layer title (e.g. lakes).
- Select the layer type. We choose PostGIS Field for advanced geospatial operations and geodata storage.
- As source select your created content type which will be associated with your new layer.
- Make the checkmark Provide an OpenLayers WFS layer within the OpenLayers section.
- Finish configuration by click on Save
- Congratulation! Your new GeoServer layer was added to GeoServer.
Tip
You can now also access the geospatial fields of your content type via WFS or WMS with other applications (e.g. with QGis)
Configuring OpenLayers to activate your GeoServer layer in a map
OpenLayers is used to display your new layer on a map. You will now associate your GeoServer layer with your OpenLayers map.
- Go to to visit the OpenLayers maps configuration page
- Look for frontmap - a pre-generated, default map and select Edit on the right side.
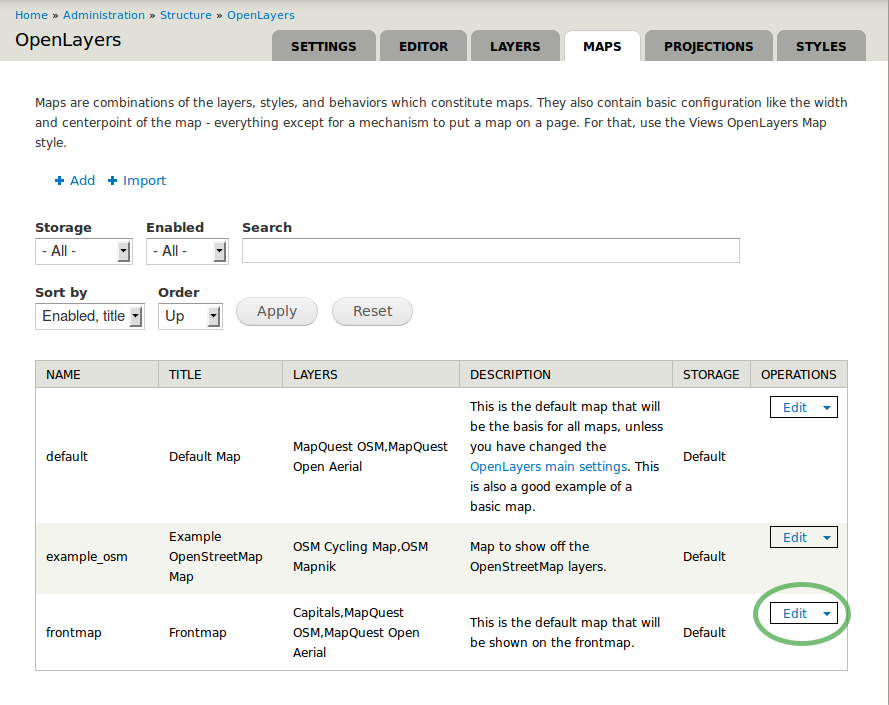
- frontmap’s configuration page appears as shown on the screenshot below.
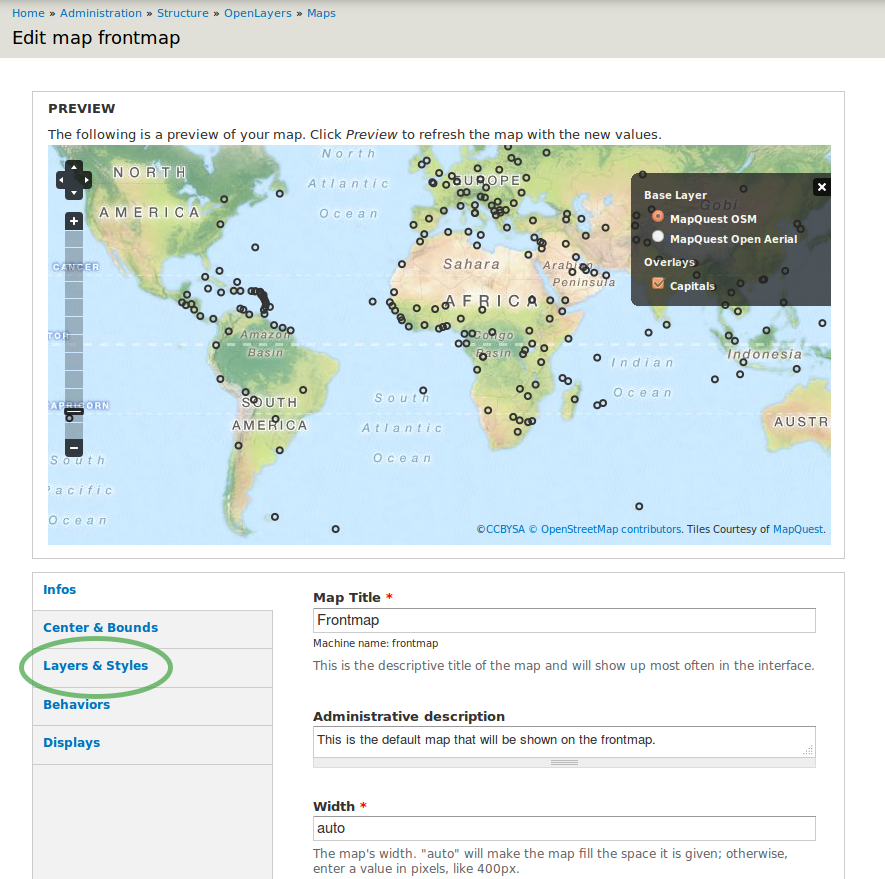
- Select in the left sidebar to add our newly created layer to the frontmap.
- Look for your created GeoServer layer (‘lakes’ in our example)
- Make checkmarks for Enabled, Activated and In Switcher to activate your new layer lakes in your map
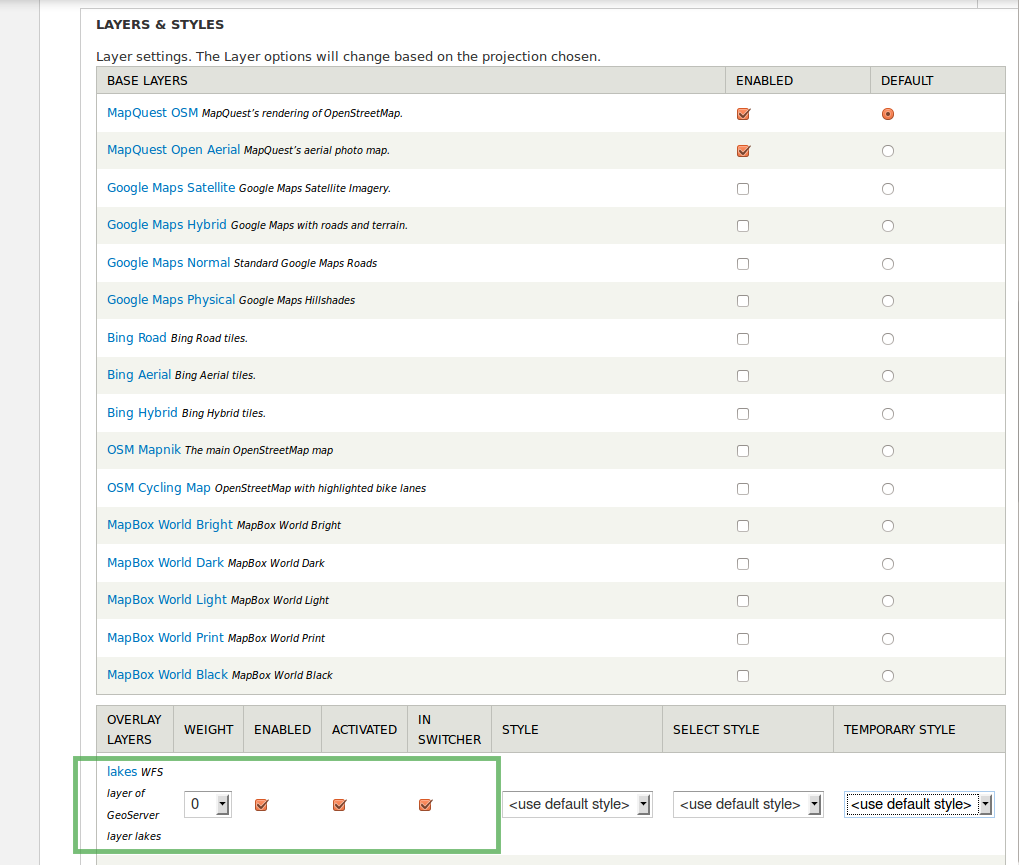
- Finish configuration by clicking on Save at the bottom
Adding geospatial content
After creating your content type and configuring GeoServer and OpenLayers you can now add as many content elements of this type as you want.
- Choose from the menu bar to see all existing content elements within your Cartaro installation
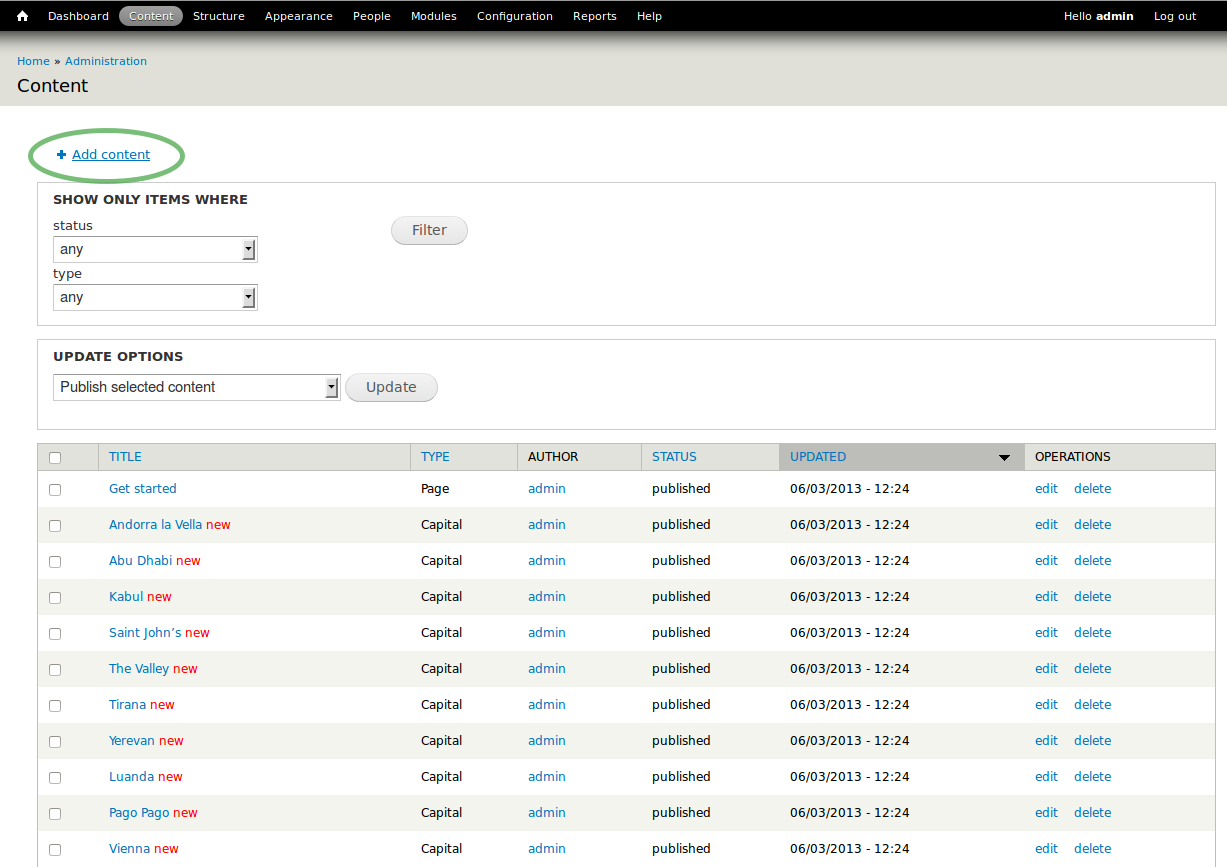
- Select Add content to add more content and choose your new content type in the appearing window (not shown). In the configuration page of your new content element (called node in Drupal language) make the following settings:
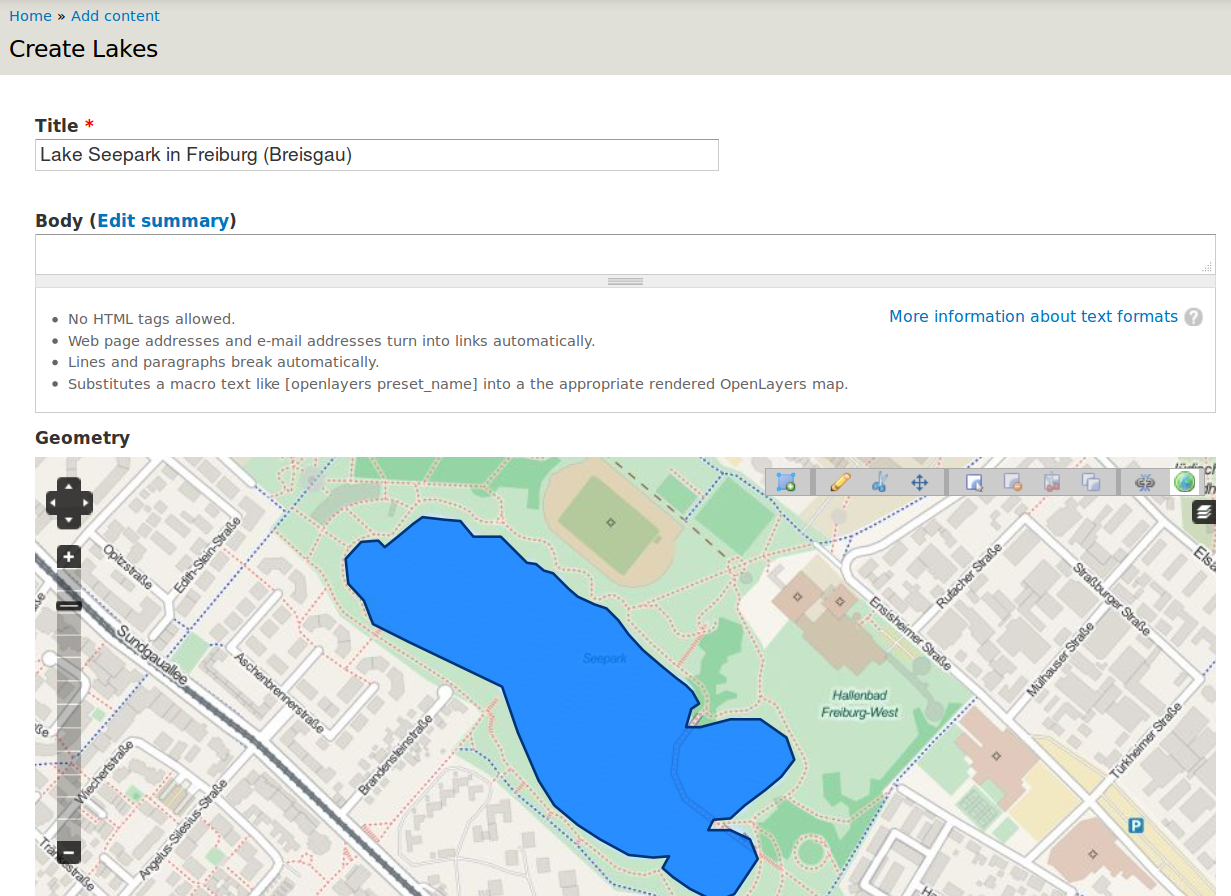
- Type a name
- You can draw the geometry for your content element. Choose the draw symbol on the upper right corner of the map. Note that tool tips are shown when you hover the toolbar icons. Click on the map to create a new geometry. Finish the drawing with double click.
- Save your geometry.
Note
Only one geometry per content element can be drawn in our example configuration. Create additional content elements to add more polygons.
- You should now see your new content element
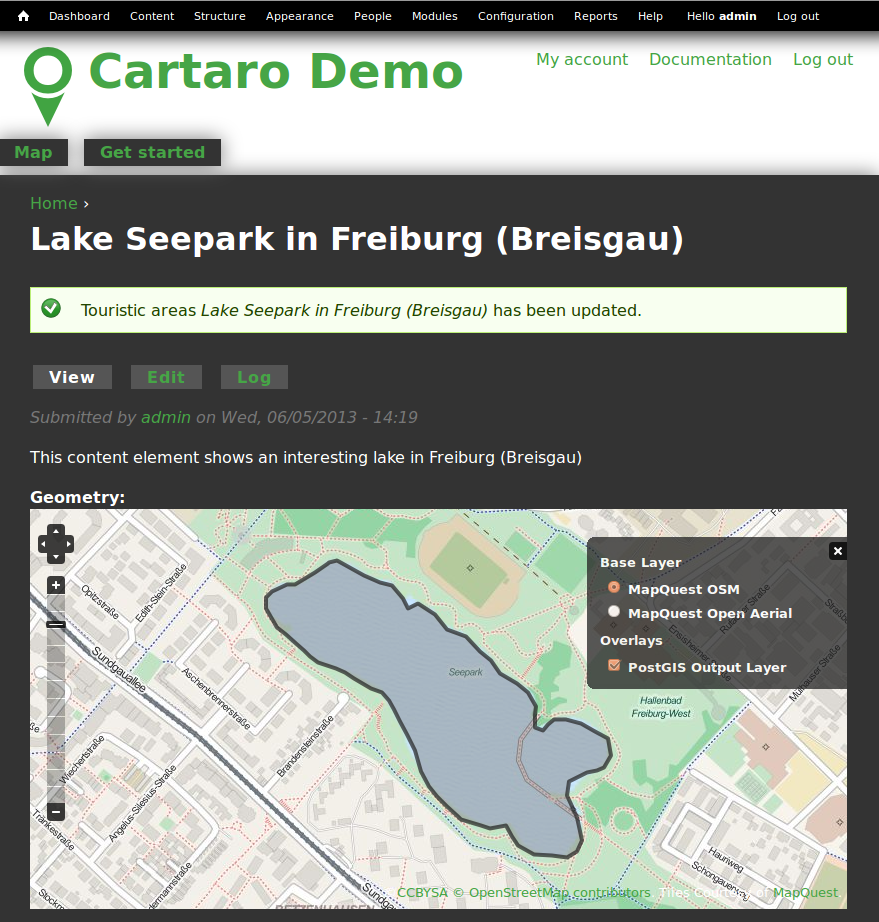
- To view your new content element on the front map, click on the house icon in the upper left corner
Congratulations, you have just finished the quickstart tutorial. Your first content element is now ready. To add more content elements simply peform the steps of this section again.
Things to Try
- Use the Layer Assistant to include external layers
- Change the default map behaviors and build your own map
- Try different geometry types and build more complex content types
What Next ?
The quickstart has given a first impression about the possibilities of Cartaro to you. But there is a lot more to discover.
Your next step may be to install Cartaro on your own servers. Just visit http://cartaro.org/documentation/getting-started to learn how.
In context to this quickstart, check our documentation about Layer Assistant or about Styling
Our documentation web page can be found here http://cartaro.org/documentation
Available on http://cartaro.org