
注釈
This project is only included on the OSGeoLive virtual machine disk (VMDK)
QField Quickstart
QField is a powerful tool to collect data in the field for usage with QGIS.
Contents
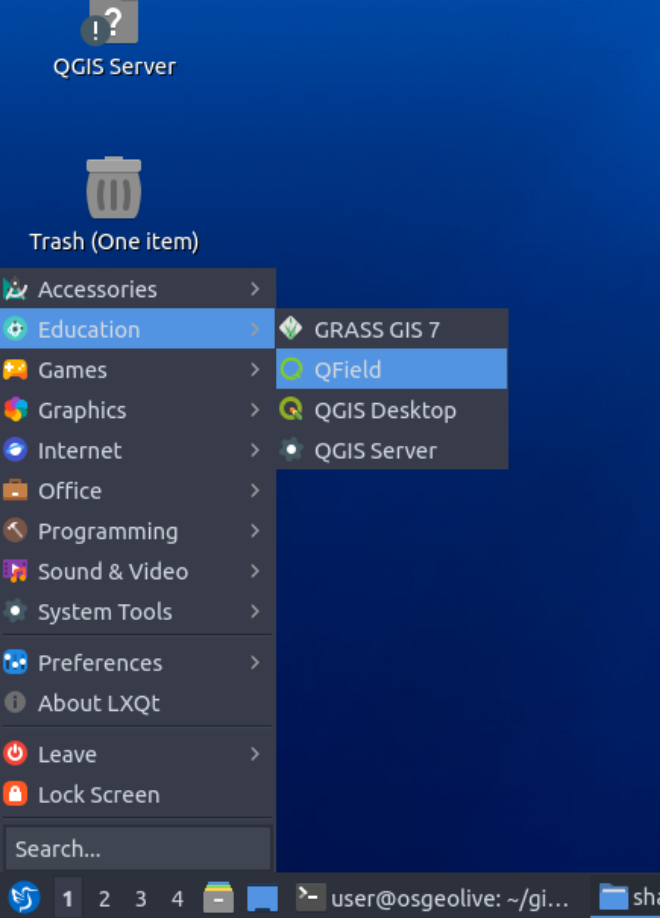
Start QField
Click the menu button at the bottom left
Click the QField icon in the Education menu
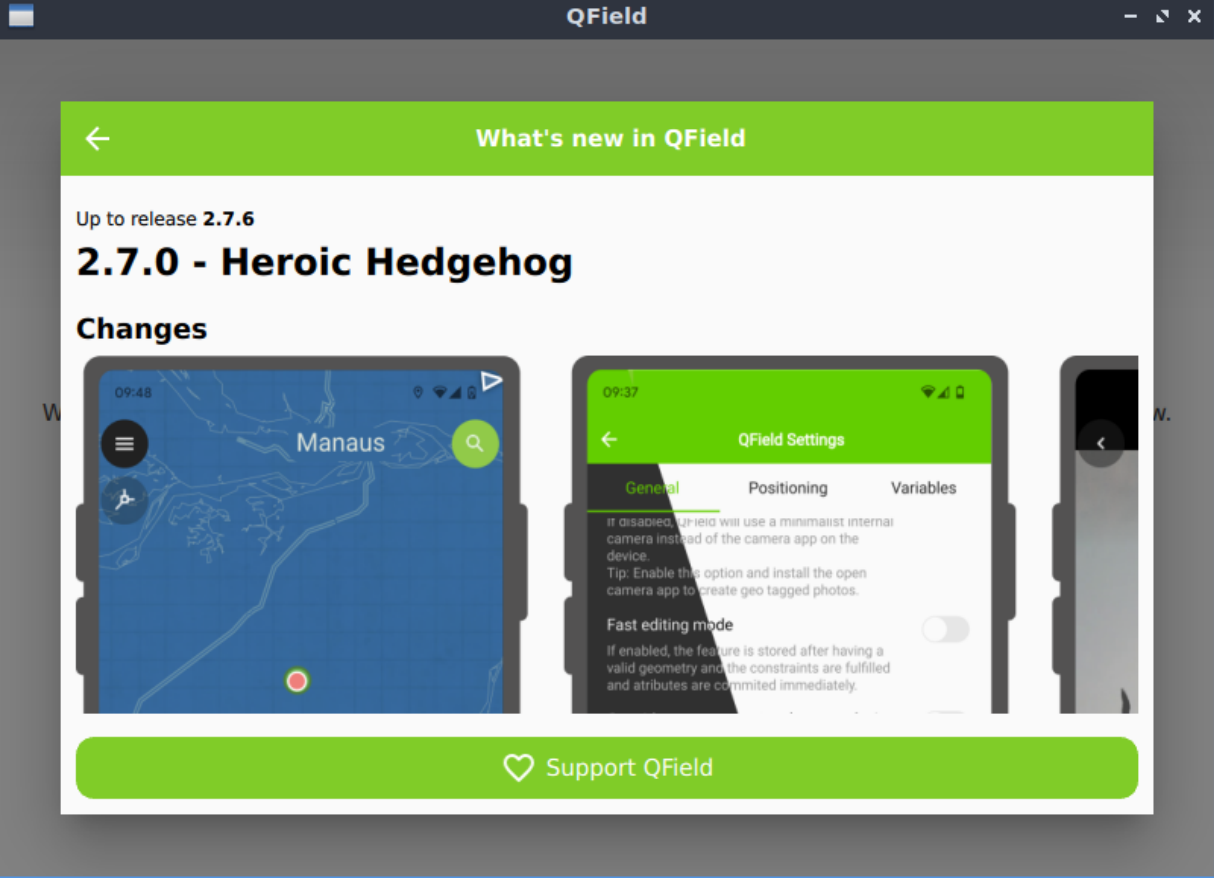
You will see QField launch and show the changelog of the release. Close the screen by clicking on the arrow button on the top left.
Open a project
You can open any QGIS project with QField.
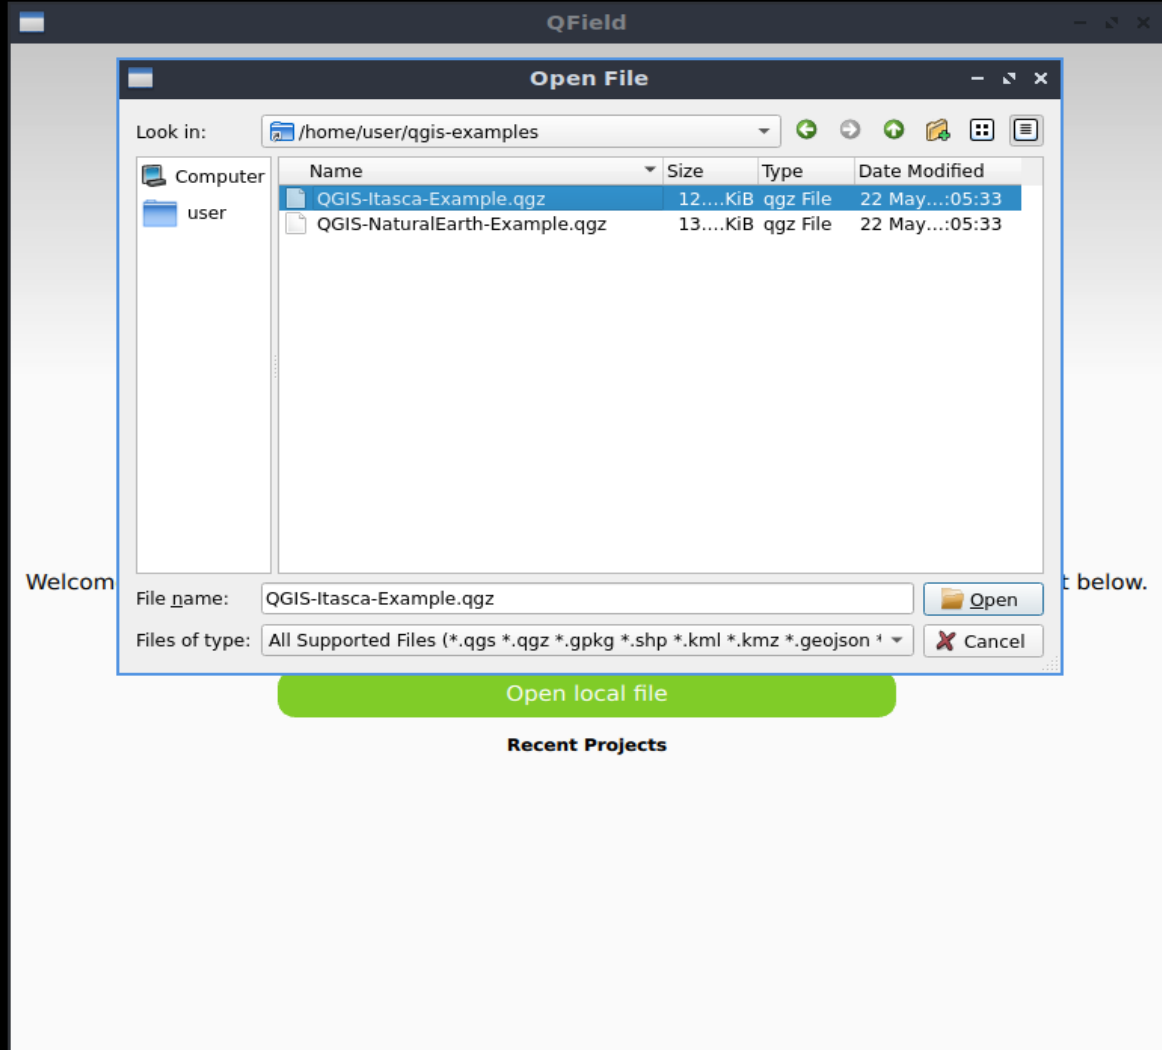
Click the Open local file button
Open the qgis-examples folder
Click the QGIS-Itasca-Example.qgz project file to open the project
Basic canvas interaction
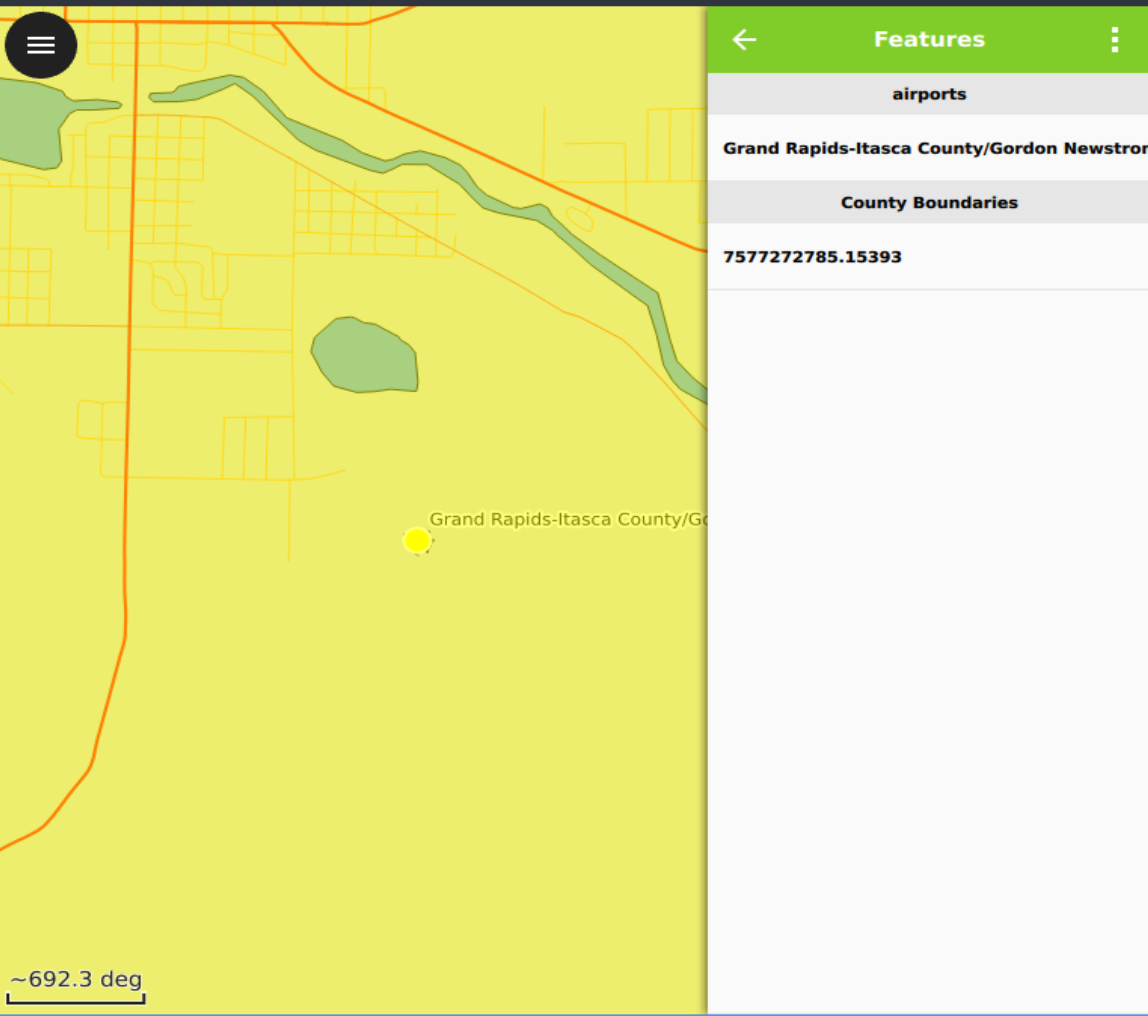
You can identify features by clicking on them. In the itasca project, there are multiple layers identifiable, so you will get results from multiple layers, in this case here "airports" and "County Boundaries".
To inspect the attributes of one of the features, click on the feature in the identification panel. You will see all attributes of this feature appear.
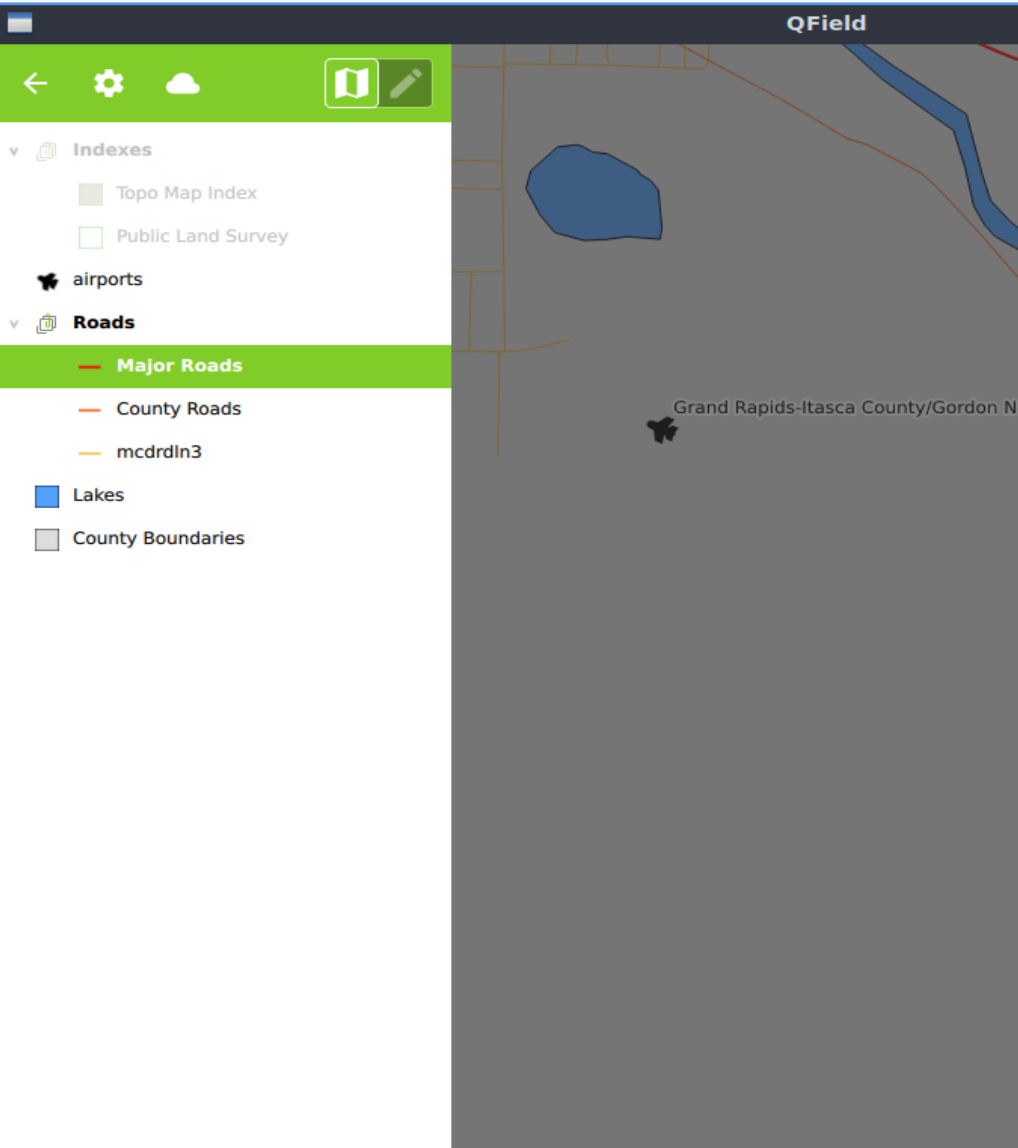
Legend
To see which layers are loaded and to inspect the layer legends, click the hamburger menu on the top left corner.

You will see all layers in the project listed. By right clicking on the layer (or long pressing on a touch screen) you will have additional actions available for each layer.
Close the legend by clicking the white arrow on the top left or by clicking anywhere on the canvas outside the legend panel.
Digitize Data
By default, QField opens in read/view mode and you are not able to make any changes to preexisting geometries or add new features. To go into digitize mode:
Click the hamburger menu on the top left corner, so you see the legend.
Click the pencil switch to go into digitize mode.

Next, we will create a new airport.
Activate the airports layer by clicking on the airports layer. The current layer within which digitizing will occur is highlighted using a green background in the legend.
Close the layer panel
You will see a crosshair appear. This will follow your mouse or stay in the center of the screen if you are working with a touch screen.
If you have a mouse: click to create a new airport.
If you have a touchscreen, move the map until the crosshair is on the desired location and click the plus button at the bottom right of the screen to create a point.
A panel appears, where you can enter all the desired attributes for the new airport
Click the checkbox to confirm the new airport.
The data is saved immediately.
Things to try
Show and hide a layer via the layer options (long click in the legend)
On the legend panel, check the cog wheel symbol for more actions like measuring and printing
Download the QField sample projects for more inspiration
Open a project file in QGIS, add layers to it and change the configuration
Install QField on your mobile device through the app store or via the Download page.
What next?
To learn more about QField, a good starting point is the Documentation page.