本文演示如何运行 Ushahidi 及其基本操作。

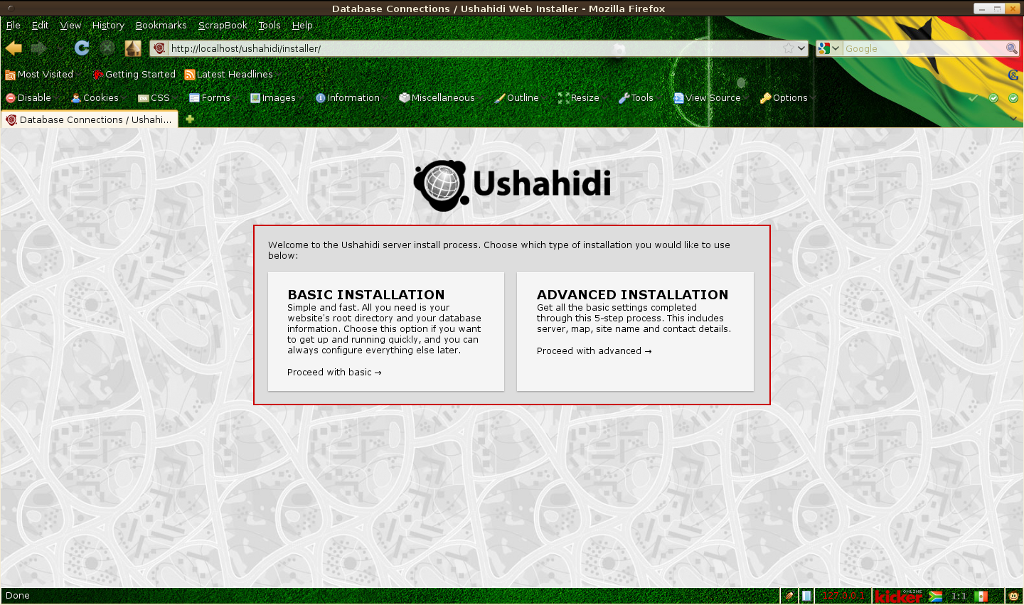
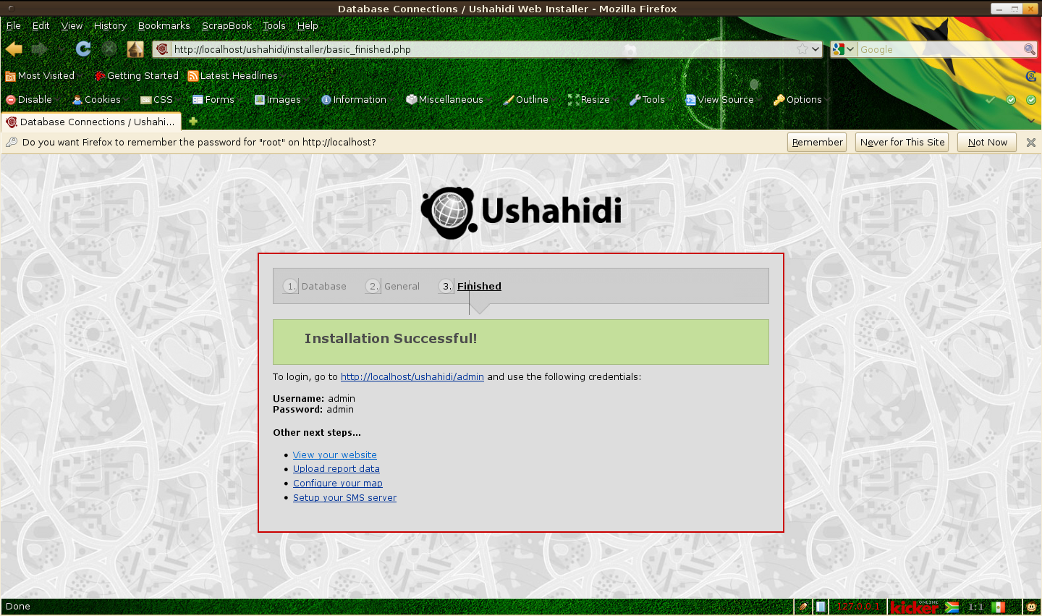
选择 “Basic Installation” 基本安装 => “Let’s get started” ,系统将显示基本配置信息。数据库名称默认为 “ushahidi” 用户名和密码均为 “user” 。数据服务器为 “localhost” 。确认后继续。在 General 页面选择服务名称(title),例如 OSGeo demo ,以及副标题等。邮件地址是用于自动上传和报告发送的。设置成 “ushahidi@localhost.localdomain” 或 “ushahidi@example.org” 即可,按 “Continue” 继续。
Note: 若 Ushahidi 提示 “Oops! We couldn’t make a connection to the database server with the credentials given. Please make sure they are correct.” ,这表示安装脚本未能创建必要的认证信息。此时用户需要手工输入。安装脚本默认用户拥有 root 权限。
“mysql -uroot -p” – 将请求 MySQL 服务器 root 密码。若有密码则输入,否则直接回车。
输入以下命令创建新用户: “CREATE DATABASE ushahidi;” – 新数据库名为“ushahidi”。
然后输入:
“GRANT ALL PRIVILEGES ON ushahidi.* TO ‘user’@’localhost’ IDENTIFIED BY ‘user’;”
– 创建 “user” 用户,密码为 “user” 。
回到 Ushahidi 界面输入涉及的信息。


系统配置的 README 说明页面位于 /var/www/ushahidi/readme.html 。